
Updating Forticlient VPN for SSO
Open your “Forticlient VPN”
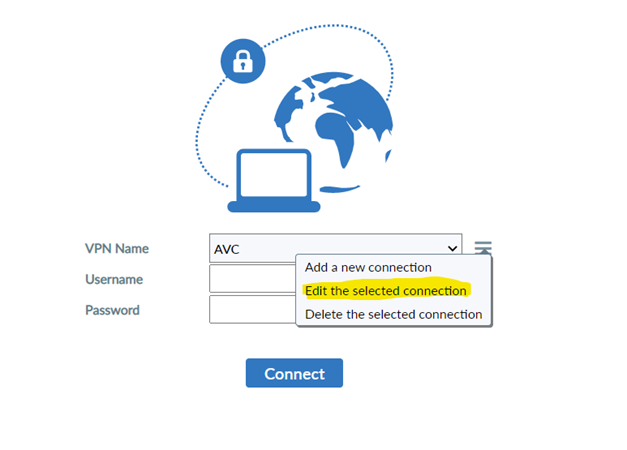
Click on the 3 lines then click on “Edit the selected connection”.
Image
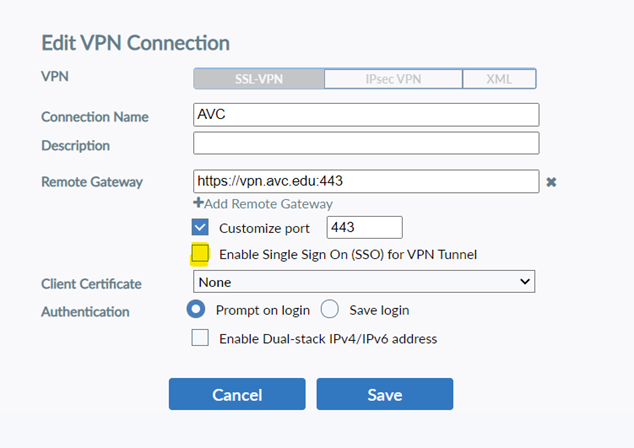
Click on “Enable Single Sign On (SSO) for VPN Tunnel"
Image
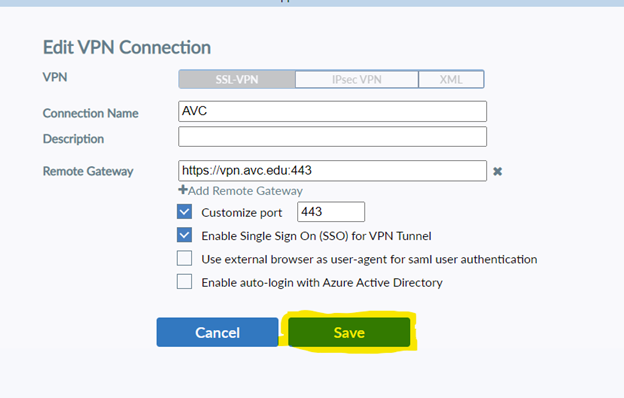
Click on "Save"
Image
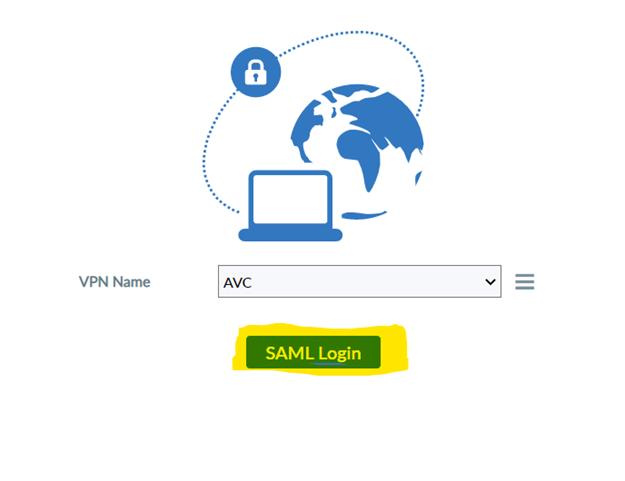
Click on “SAML Login”
Image
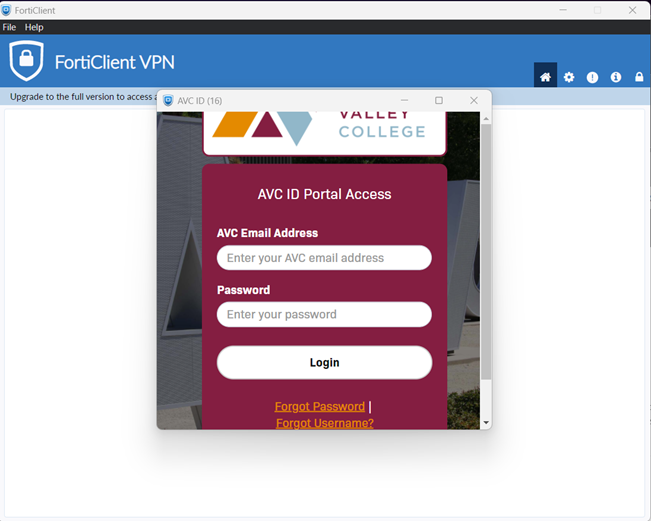
You will see the AVCID login page pop up.
Enter your email address and AVCID password
*Note you have 30 seconds to complete this login or it will error out
Image
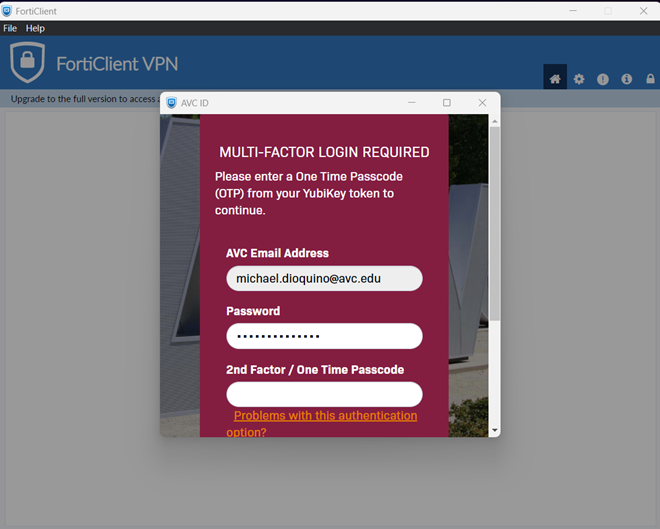
Enter your 2FA (you might have to scroll down to click on the “Login” button)
Image
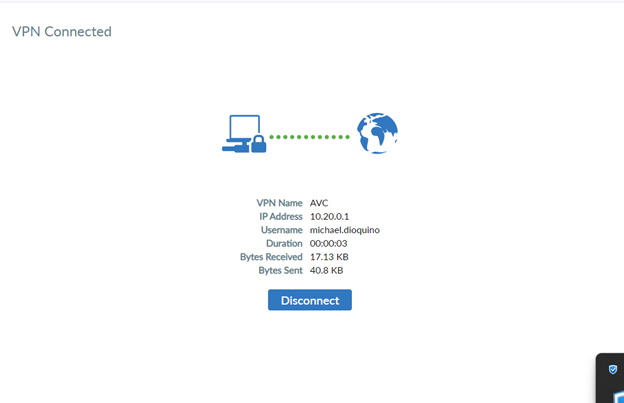
You are now connected to VPN
Image
If you have any issues or need more assistance, please contact the ITS helpdesk at 6535 or help@avc.edu
( This page updated December 20, 2023)